Get 1+ GB FREE sound effects

18 NEW LIBRARIES AVAILABLE! We are happy to welcome SOUND OF ESSEN as an independent creator in our store. DISCOVER NEW SOUNDS.

Get 1+ GB FREE sound effects

5 Quick Tips for Recording your own Wave Sounds

Guide for Recording Wave Sounds

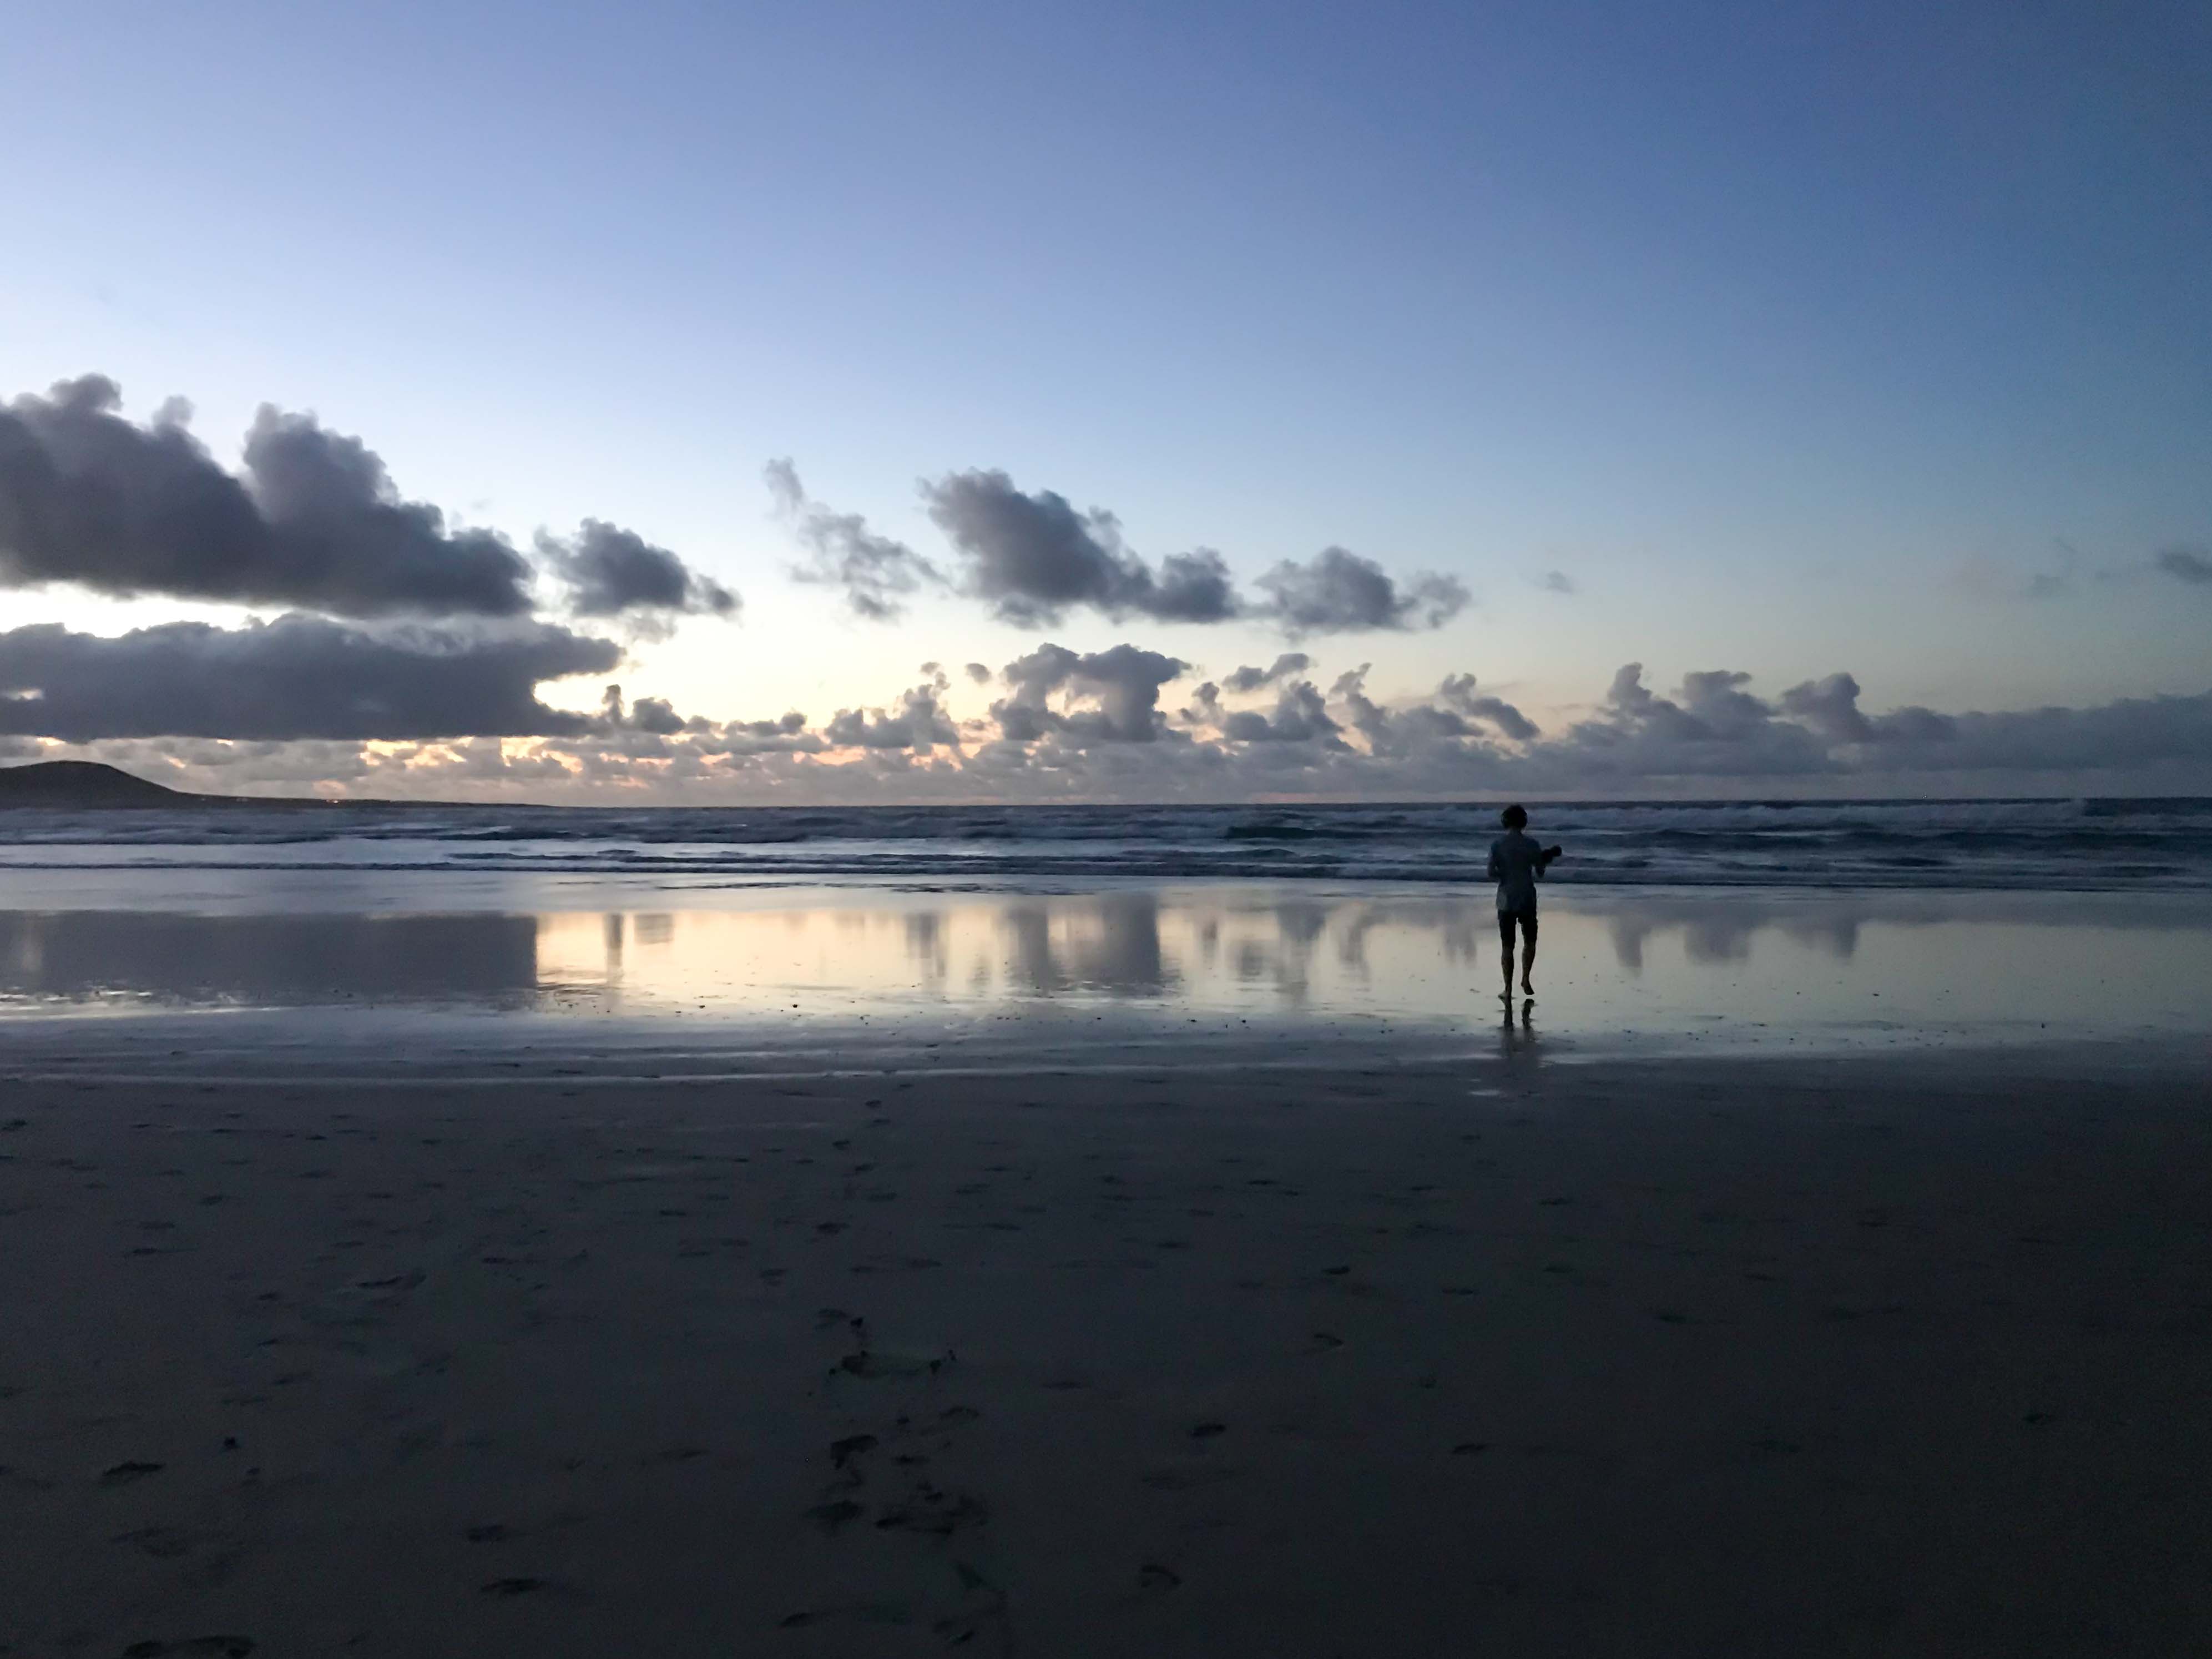
With our Ocean Waves sound library we have introduced a collection of detailed and highly versatile wave recordings. We are excited to now present you a step-by-step guide on how to record your own wave sounds, whether you’re an experienced field recordist or just starting to explore the sounds of our world. From choosing the right equipment and scouting the perfect location to microphone placement and post-processing, we’ve got you covered. So, let’s dive in and learn how to bring the mesmerizing sounds of the ocean into your creative projects or personal sound library.

1. Choose the right equipment

  • Microphones: Ideally, you have a pair of external microphones to plug into your recorder. High-quality condenser microphones, such as Sennheiser MKH8040s or Rode NT5s, are excellent choices. If you are new to field recording, the built-in microphones of a handheld recorder will also do the job and give you fresh experiences. It’s always better to record sounds with beginner equipment, than recording no sounds!
  • Audio recorder: Use a portable audio recorder with high-quality preamps, such as models from Sound Devices for higher budgets or Zoom for lower budgets.
  • Wind protection: A windjammer will help reduce wind noise and protect your microphones from the elements.
  • Tripod or mic stand: To minimize handling noise, use a sturdy tripod or microphone stand with adjustable height.
  • Headphones: Closed-back, over-ear headphones are ideal for monitoring your recordings in the field. Personally, I often prefer to record without headphones. This approach allows me to better localize the waves than when using headphones, enabling me to position the microphones more accurately to capture the desired sounds.
  • Old clothing: Be prepared to get wet or climb over rocks, so wear old clothes and shoes that can handle some wear and tear. Be cautious when moving around slippery surfaces. I once slipped and fell hard on rocky terrain, causing my circulation to collapse.

2. Think about location and time

  • Geography: The sounds of the ocean vary greatly depending on the geographical location where you record them. Factors such as the coastline’s topography and local climate all contribute to the unique acoustic character of the waves. For instance, sandy beaches often produce gentle waves, while rocky shorelines create more powerful and splashy waves. Consider the type of wave sounds you want to capture before beginning your recording journey. If you are looking for gentle, isolated beach waves, you may have better luck at southern beaches (for instance the Mediterranean Sea) that are less impacted by tidal fluctuations. In contrast, the Atlantic Ocean or the North Sea typically produce waves that are heavily influenced by the tides, which causes them to break earlier on the coast. In these locations, you can expect to capture waves with a greater amount of background noise of the ocean.
  • Tides: Waves sound different at high and low tides, so choose the time that best suits your desired sound. At high tides, waves will be mostly stronger than at low tides. Also consider that at high tides there will be more wind to deal with.
  • Weather: Calm days often yield the best results. Wind and rain can interfere with the recording and make it challenging to capture clean audio. Recording during a storm will be very challenging as even the best windjammers probably will fail. In this case, find a large rock and position your equipment behind it to avoid the wind. Sometimes, strong waves with a lot of information in the bass frequencies can even overlay the wind noise.
  • Noise pollution: Avoid locations near busy roads, harbors or other sources of noise pollution. Your biggest enemies besides wind are human made noises like ships and airplanes. My advice is to stay a few miles away from cities, as the urban bass rumble can still be heard from far away and will definitively be captured by your microphones.
  • Human activity: Record during off-peak hours or at secluded beaches to minimize the impact of human activity on your recording.

3. Be aware of your environment

  • Listen actively: Remember that waves are natural sounds and many things are unpredictable. The same coast can sound completely different after a walk of a few minutes due to geographical changes. So it’s crucial to remain entirely focused on your surroundings. For example, waves crashing against jagged rocks can create bubbling sounds when the water flows back into the sea from beneath the rocks. Capturing cave-like wave sounds doesn’t always require being inside an actual cave; sticking the micophones into a crevice can be enough. It’s all about reacting quickly and improvising! Listening and recording waves can also be a meditative process that makes you feel connected to nature, so it’s definitely worth all the time you spend by the sea.
  • Avoid distractions: Consider switching off all electronic devices except your audio recorder. If you want to leave your smartphone powered on for taking photos, deactivate its network connection. You can also think about spending the time during your recordings all by yourself, which is always a good experience in my opinion.

4. Experiment with microphone placement and perspectives

  • Distance: Place your microphones at varying distances from the water’s edge. A closer position will capture more detail, while a more distant position will emphasize the general ambient noise of the ocean. Keep in mind what you will use the recordings for: If you are about to craft dynamic soundscapes for movies or games it will be a pleasure to have wave sounds recorded from close and far. Use the distant ocean roar to set the key of the soundscape and add the close and detailed recordings as top layer for the action that is right in front. This way, you can easily create different perspectives and simulate depth in your projects.
  • Positioning: Placing your microphones with a more experimental approach can also yield interesting results. For example, you can stand in the water and record pass by waves that you can later use to design whooshes or magic spells. If you point the microphones directly at the foam created by waves on a sandy beach with small pebbles or shells, you can get detailed fizzing and tinkling sounds. Small ledges and crevices are always good for shielding wind and can bring unforeseen results due to resonances that sometimes occur.

5. Post-processing and editing

  • Remove unwanted noise: Cut out any handling sounds or water drops hitting the microphones. Use equalizers or noise reduction tools to eliminate wind, background noise or other disturbing noises. In most cases, a little bit filtering will be enough, as waves tend to overlay any technical noise. Remember not to over-process your recordings and keep them natural to preserve the organic sound.
  • Volume and fade: Bring your recordings to consistent volume levels and add fades at the beginning and end for a smooth listening experience. In general we advise you to normalize sound effects, but with waves it makes sense to adjust the volume individually, as they are very dynamic. For instance, while dynamic beach waves normalized to -6 dB will sound nice, constant ocean noise at the same volume level would make your ears bleed. Regardless of the type of waves, always leave a little headroom. It’s also useful to make the files seamlessly loopable, so you don’t have to do it while you are working on projects with longer scenes.
  • Naming and Metadata: Finally name the wave sounds and categorize them according to the Universal Category System. Also keep in mind to embed some descriptive metadata. An accurate description with well considered keywords is essential so that you can quickly find the sounds in your growing library.

Recording wave sounds can be an incredibly rewarding experience

By following this guide, you’ll be well-equipped to capture the unique acoustic character of the sea and create stunning audio experiences. As you venture out into the field, remember to keep an open mind and stay attuned to your environment. With practice and patience, you’ll discover the beauty of the ocean’s ever-changing soundscape, creating a priceless collection of wave sounds that will transport listeners to the shores of your imagination.

Share this post

Share on facebook
Share on reddit
Share on twitter
Share on linkedin
Share on pinterest
Share on print
Share on email
Jonas Porombka

Jonas Porombka

Jonas, co-founder of Just Sound Effects, is a graduated sound designer and captures field recordings all over the world, always looking for unique soundscapes and new places to explore.

What could also interest you

Our Metal Movements sound library has been released! A large collection of metallic squeaks and scrapes, impacts and various movement sound effects….
In the third chapter of Sound and the Environment we will briefly explain the term noise. As a sound designer and field recordist, it…
We proudly present our Doors sound library. A huge collection of door sounds with actions such as opening and closing, creaks, knob handling, lock…
Our newest library has been released: Industrial Robot. A detailed collection of robot sounds that gives you the perfect basis to design any kind…

Stay tuned

With our newsletter

By subscribing to our newsletter you agree to our privacy policy.